
Clean Girl Summer - Save $15 (Full Legs + Under Arms) - Save &
Gel Manicures: A Complete Guide To Gel Nails
Seeking a manicure that will last you through a vacation, a hectic work week, and a day of hands-on projects? Now is the time to think about getting a gel manicure. But first, there are a few concerns you should be aware of. Keep scrolling for the best tips on getting and maintaining gel manis to help you brush up on all things gel.
What Is A Gel Manicure?
The majority of the procedures in a gel manicure are the same as they are in a traditional manicure—your nails are cut, filed, and shaped, and your cuticles are cut (if requested), but this is where the similarities end.
Gel nail polish is done just like ordinary lacquer. It is, however, treated with UV or LED light to assist keep it in place for long-term use. Each coat of gel polish will need to be cured separately for 30 to 60 seconds. Rather than waiting for your nails to dry, you're free to leave as soon as your last coating sets.
Furthermore, gel manicures are more resistant to fractures and wear and tear. They also remain glossy throughout the manicure.

How Long Do Gel Manicures Last On Average?
Gel manicures can last around 10 days to three weeks thanks to the curing process. Gel manicures are supposed to last roughly three weeks. Anything beyond that usually doesn't look great due to natural nail growth and wear and tear.
While gel polish is known for lasting longer than regular lacquer, the way it's applied is crucial. You want your nail beds to be as dry as possible before applying gel polish (or any polish for that matter).
That doesn't imply your nails should be brittle; rather, there should be no water, lotion, or oils on your nail plates, as these could hinder your gel polish from adhering.
Chips and broken nails are still possible with gels, as they are with any other manicure; they're simply less likely. It's helpful to keep a nail file on hand in case you chip or break a gel.
If you can, file it to the shape you want and leave it alone. If it's noticeable and you can't get back to the salon right away, we recommend looking for a matching finish to fill in any color gaps.
How Much Does It Cost?
The cost of a gel manicure varies greatly depending on the city, state, and nail technician. A gel manicure can cost anywhere from $30 to $50+ in large locations such as Los Angeles and New York City.
Gel polish would often set you back $10 to $15 more than a typical manicure. Please remember that if you don't want to remove it at home, you'll have to pay for gel removal (which can range from $5 to $15 depending on where you are).
Are Gel Manicures Safe?
Due to the reduced amounts of UV radiation, some brands have converted to LED curing, which has fewer unpleasant side effects (hello, dark spots and wrinkles, not to mention, in extreme—very improbable cases—cancer), therefore some brands have shifted to LED curing.
Gel manicures have become the most popular treatment in any salon in the last few years. The typical UV lamps used for treating these products have different bulbs than traditional 'tanning beds,' and most nail brands are converting to LED lights simply because they cure the product in 30 seconds rather than two to three minutes using a UV lamp.
If, on the other hand, you enjoy using your UV lamp for drying, we recommend using sunscreen first. Some gels, like most nail paints, are created with higher-quality ingredients than others.
While finding clean gel polishes can be challenging, the key ingredients to avoid are dibutyl phthalate, formaldehyde, and toluene. These ingredients are not only poisonous but also carcinogenic.
So, if you're concerned about purchasing responsibly, this is something you should be aware of.
Do Gel Manicures Harm Your Nails?
Let's say you detect a crack in your gel polish. You should never pick off the rest, as annoying as it may be. Gel manicures do not harm nails; what can harm them is a poor removal method, such as pulling it off the nail.
The most significant downside of gel manicures is poor removal. You may avoid this by removing the polish properly and patiently at home, or searching out manicurists who take their time in removing the varnish to protect your nails.
Even if you follow all of the guidelines for healthy gel removal, your nail plates may end up appearing and feeling damaged. If your nails are peeling, we recommend skipping the gels for a period and letting the nail grow out.
We also recommend using daily cuticle oil to assist your nails to grow strong is a requirement.

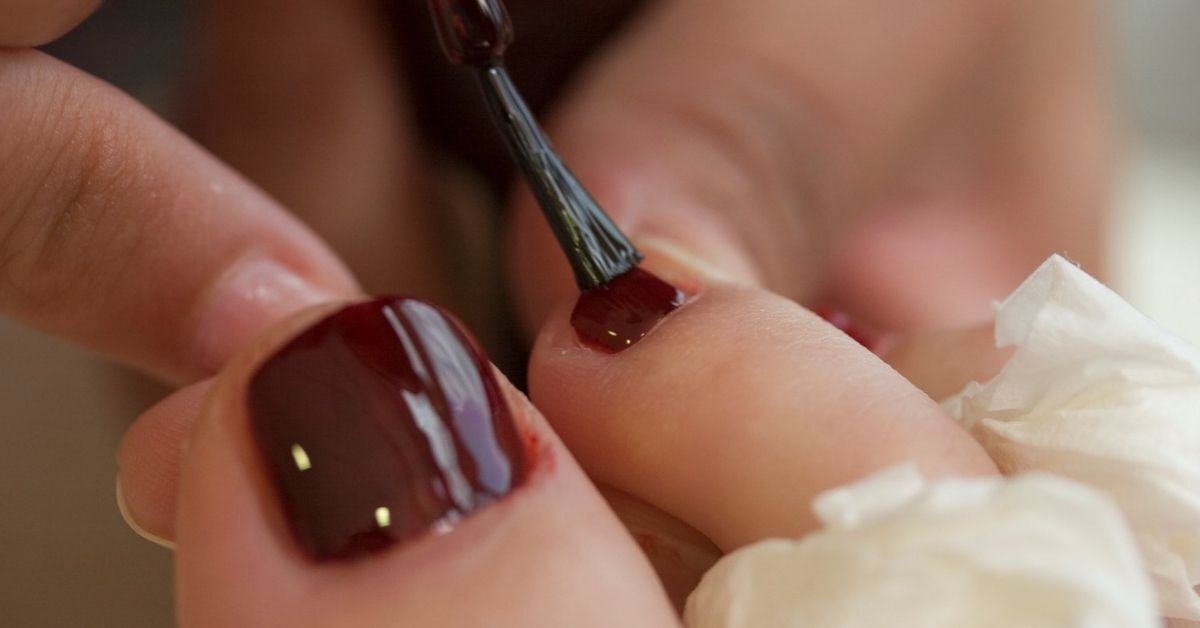
How To Remove A Gel Manicure Properly
Because the gel is such a broad term, you should always ask your technician what type of gel they're using and how to remove it. Soft gels, for example, should be buffed and soaked off; Japanese gels and SNS dip powder (also known as gels) should be filed down with an electronic file (e-file); hard gels should be filed off completely before soaking, and all other gels and traditional polishes can be soaked off without buffing.
With new items constantly entering the market, there is no one-size-fits-all process. Therefore, it is important to emphasize the need to know what is on your nails, if only for the sake of the manicurist removing them.
If soaking your nails in acetone isn't doing the trick, it's time to file your nail plates. File off the topmost shining layer of nail polish very carefully (no harsh scraping). This is necessary to allow the acetone to reach the deepest layer and speed up the cleaning process.
If you don't have an e-file, we recommend using a 100/180 grit file, which can be purchased at most drugstores, to remove gel polish.
When removing the shine, we recommend using the 180 side, but you may need to use the 100 side to break down numerous layers of topcoat, building gel, or nail art.
Even if you want the gel removal process to proceed as quickly as possible, if you want to maintain your nails healthy, it's better to take your time. With this in mind, we have a tried-and-true removal method:
- First, break the topcoat seal by filing a little.
- After that, cover your fingertips in tin foil and brush acetone-soaked cotton balls to your nails.
- Wait 10 minutes for the polish to dry before trying to remove it.
- We recommend placing a heated cloth around your fingers while they're coated in foil to speed up the procedure.
Cuticle oil or serum, according to all three experts, is your BFF after a gel manicure. The removal solution will make your nails brittle, therefore it's crucial to re-hydrate your nail. However, if you're going straight from one manicure to the next, cuticle oil should be avoided.
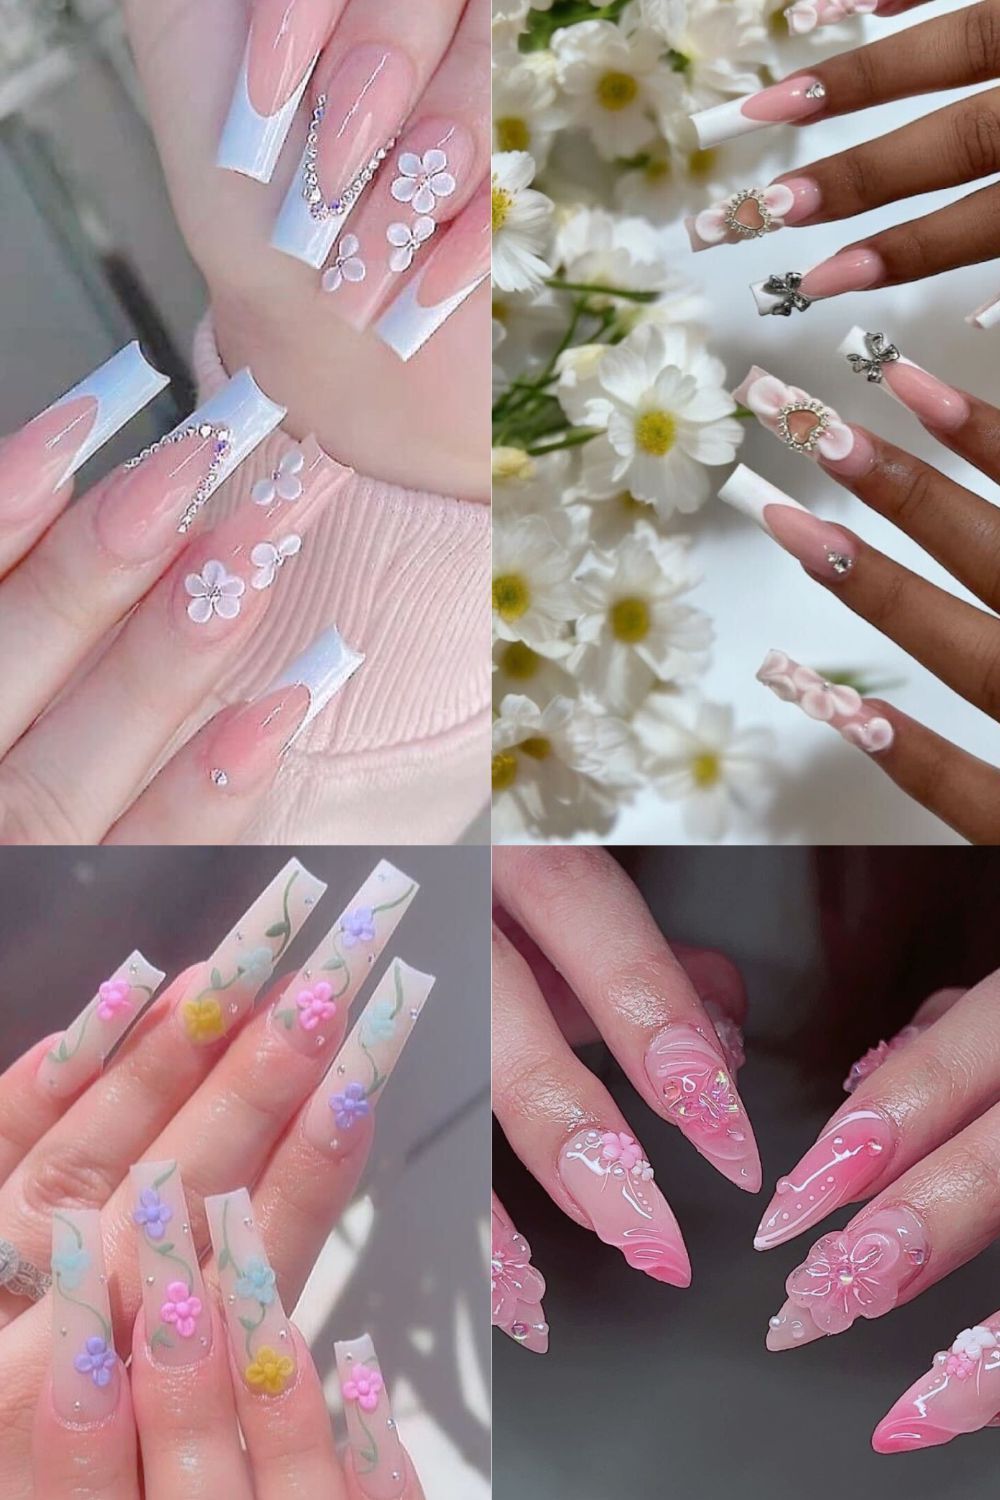
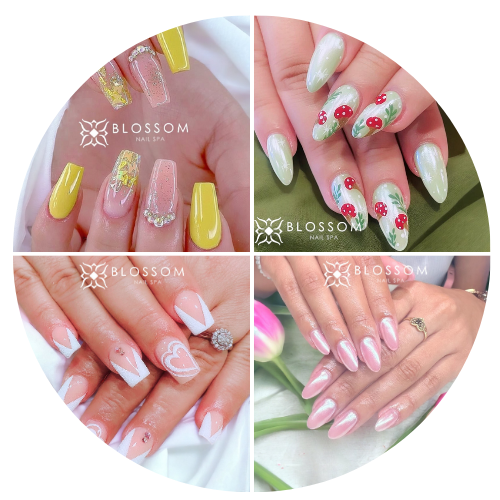
Top Beautiful Nail Trends for Summer 2026
Explore elegant spring 2026 nail designs featuring glossy mauves, soft French tips, pearl finishes,
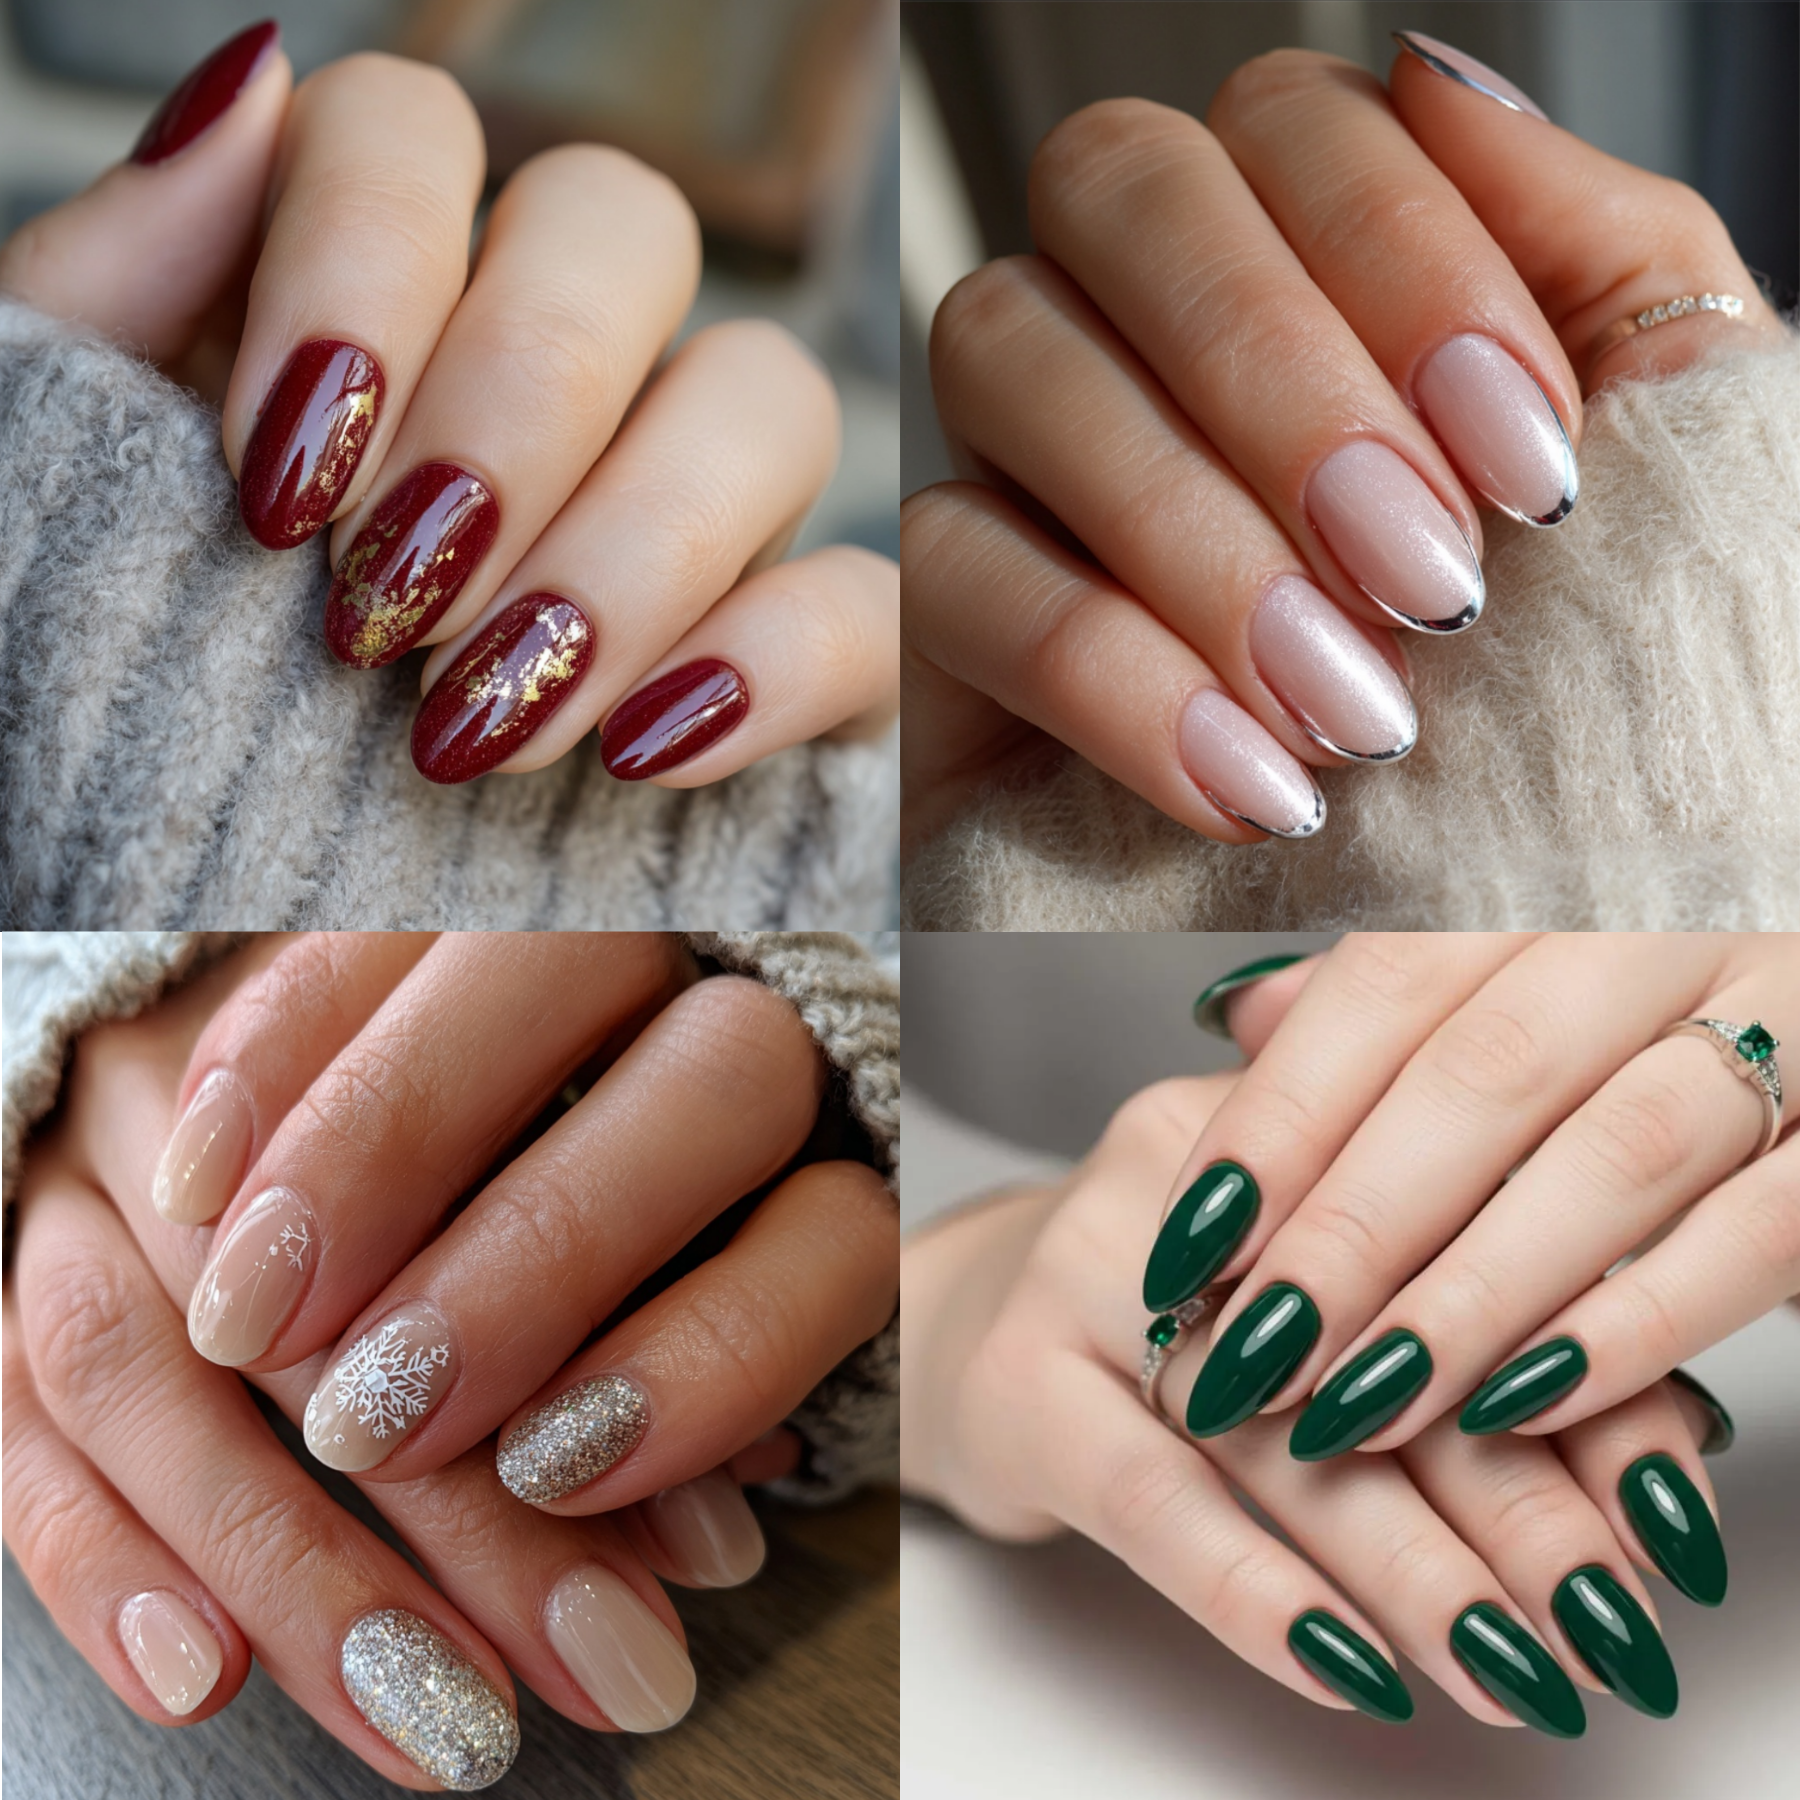
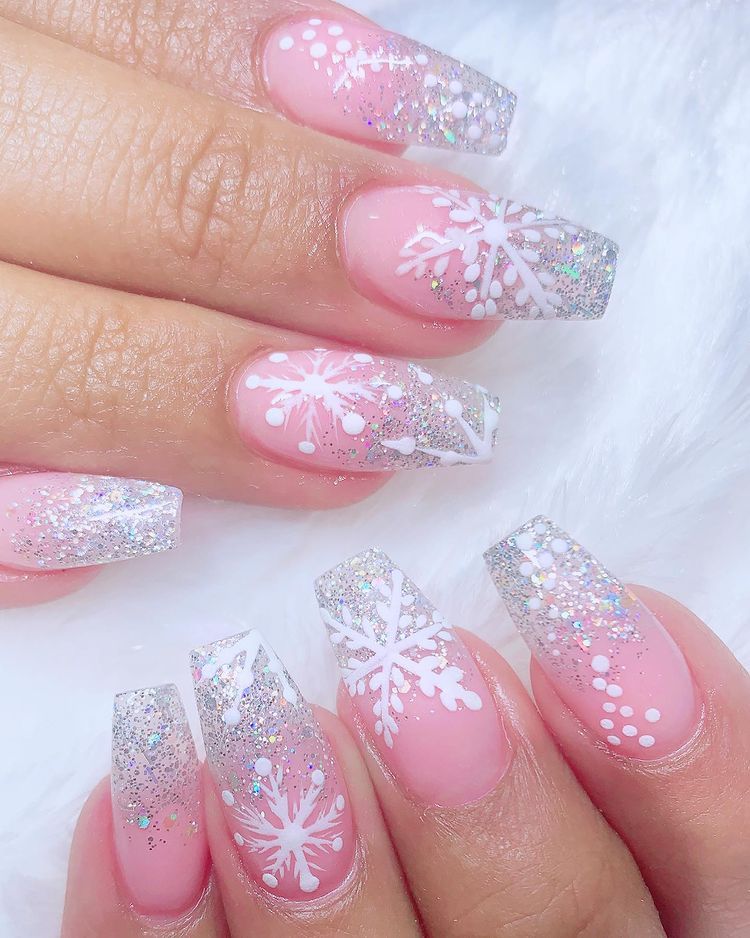
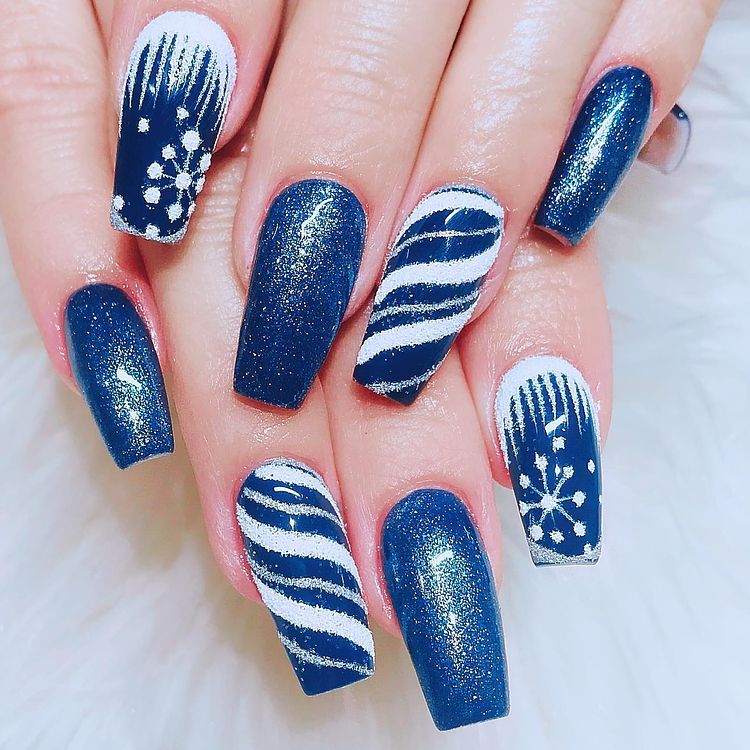
Winter nail designs 2025 at San Jose's top nail salon—chrome, beige, marble, gold, & more seasonal styles you'll love.
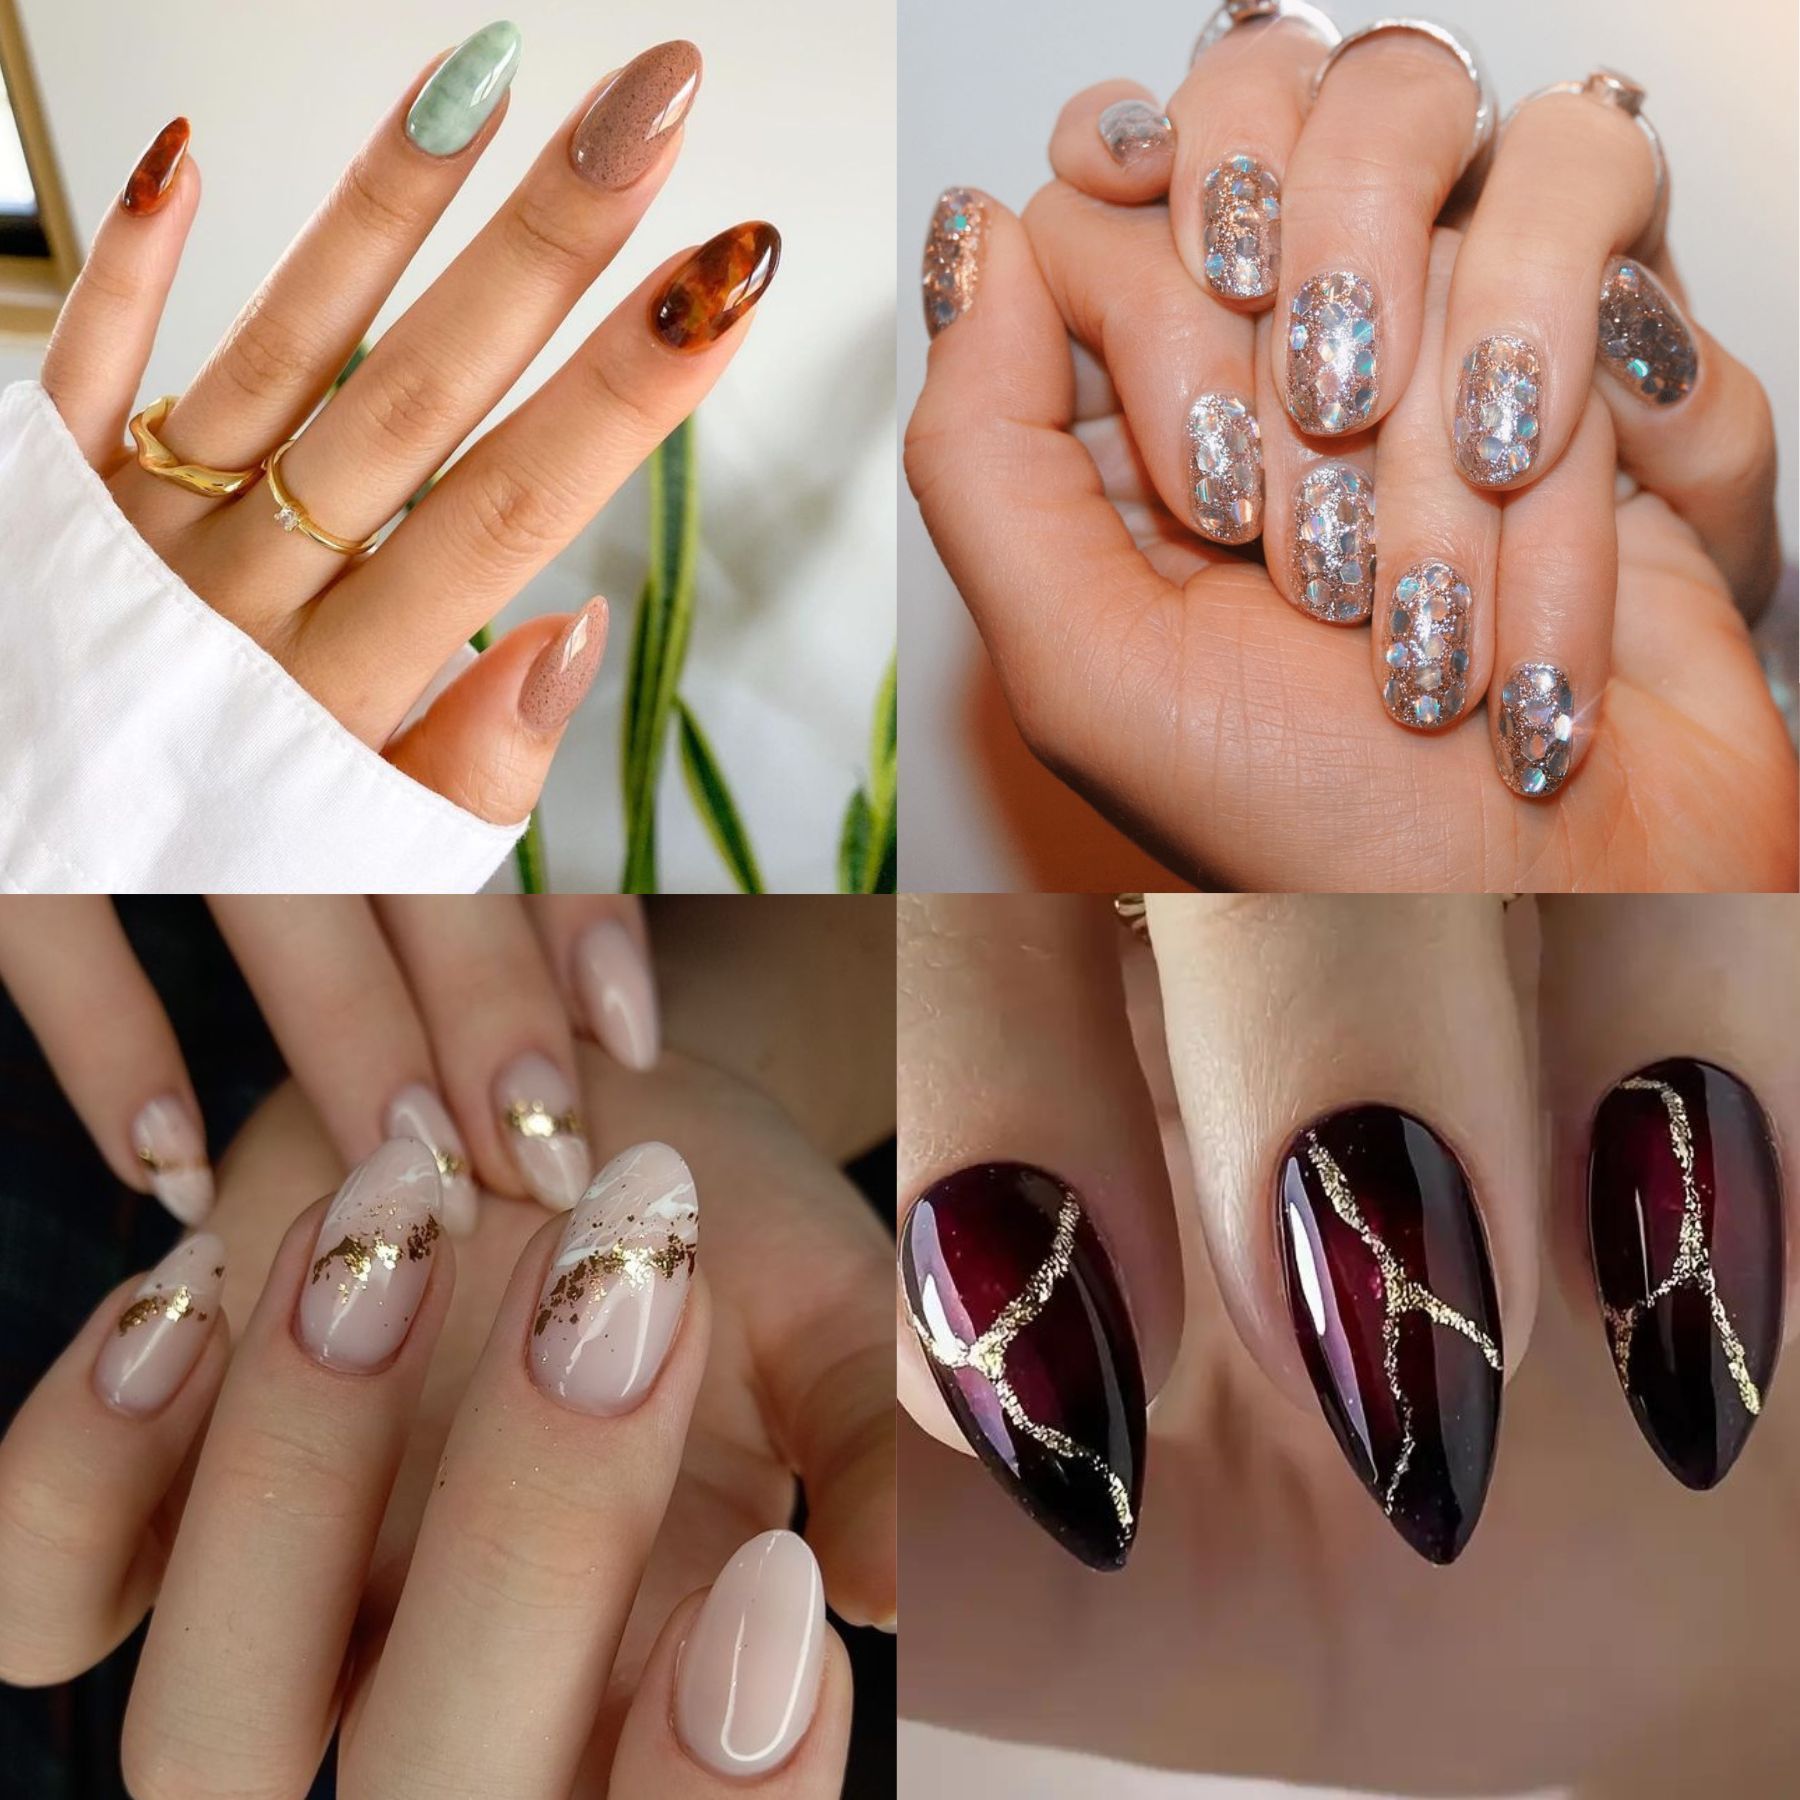
2025 Fall Season Top Nail Trends
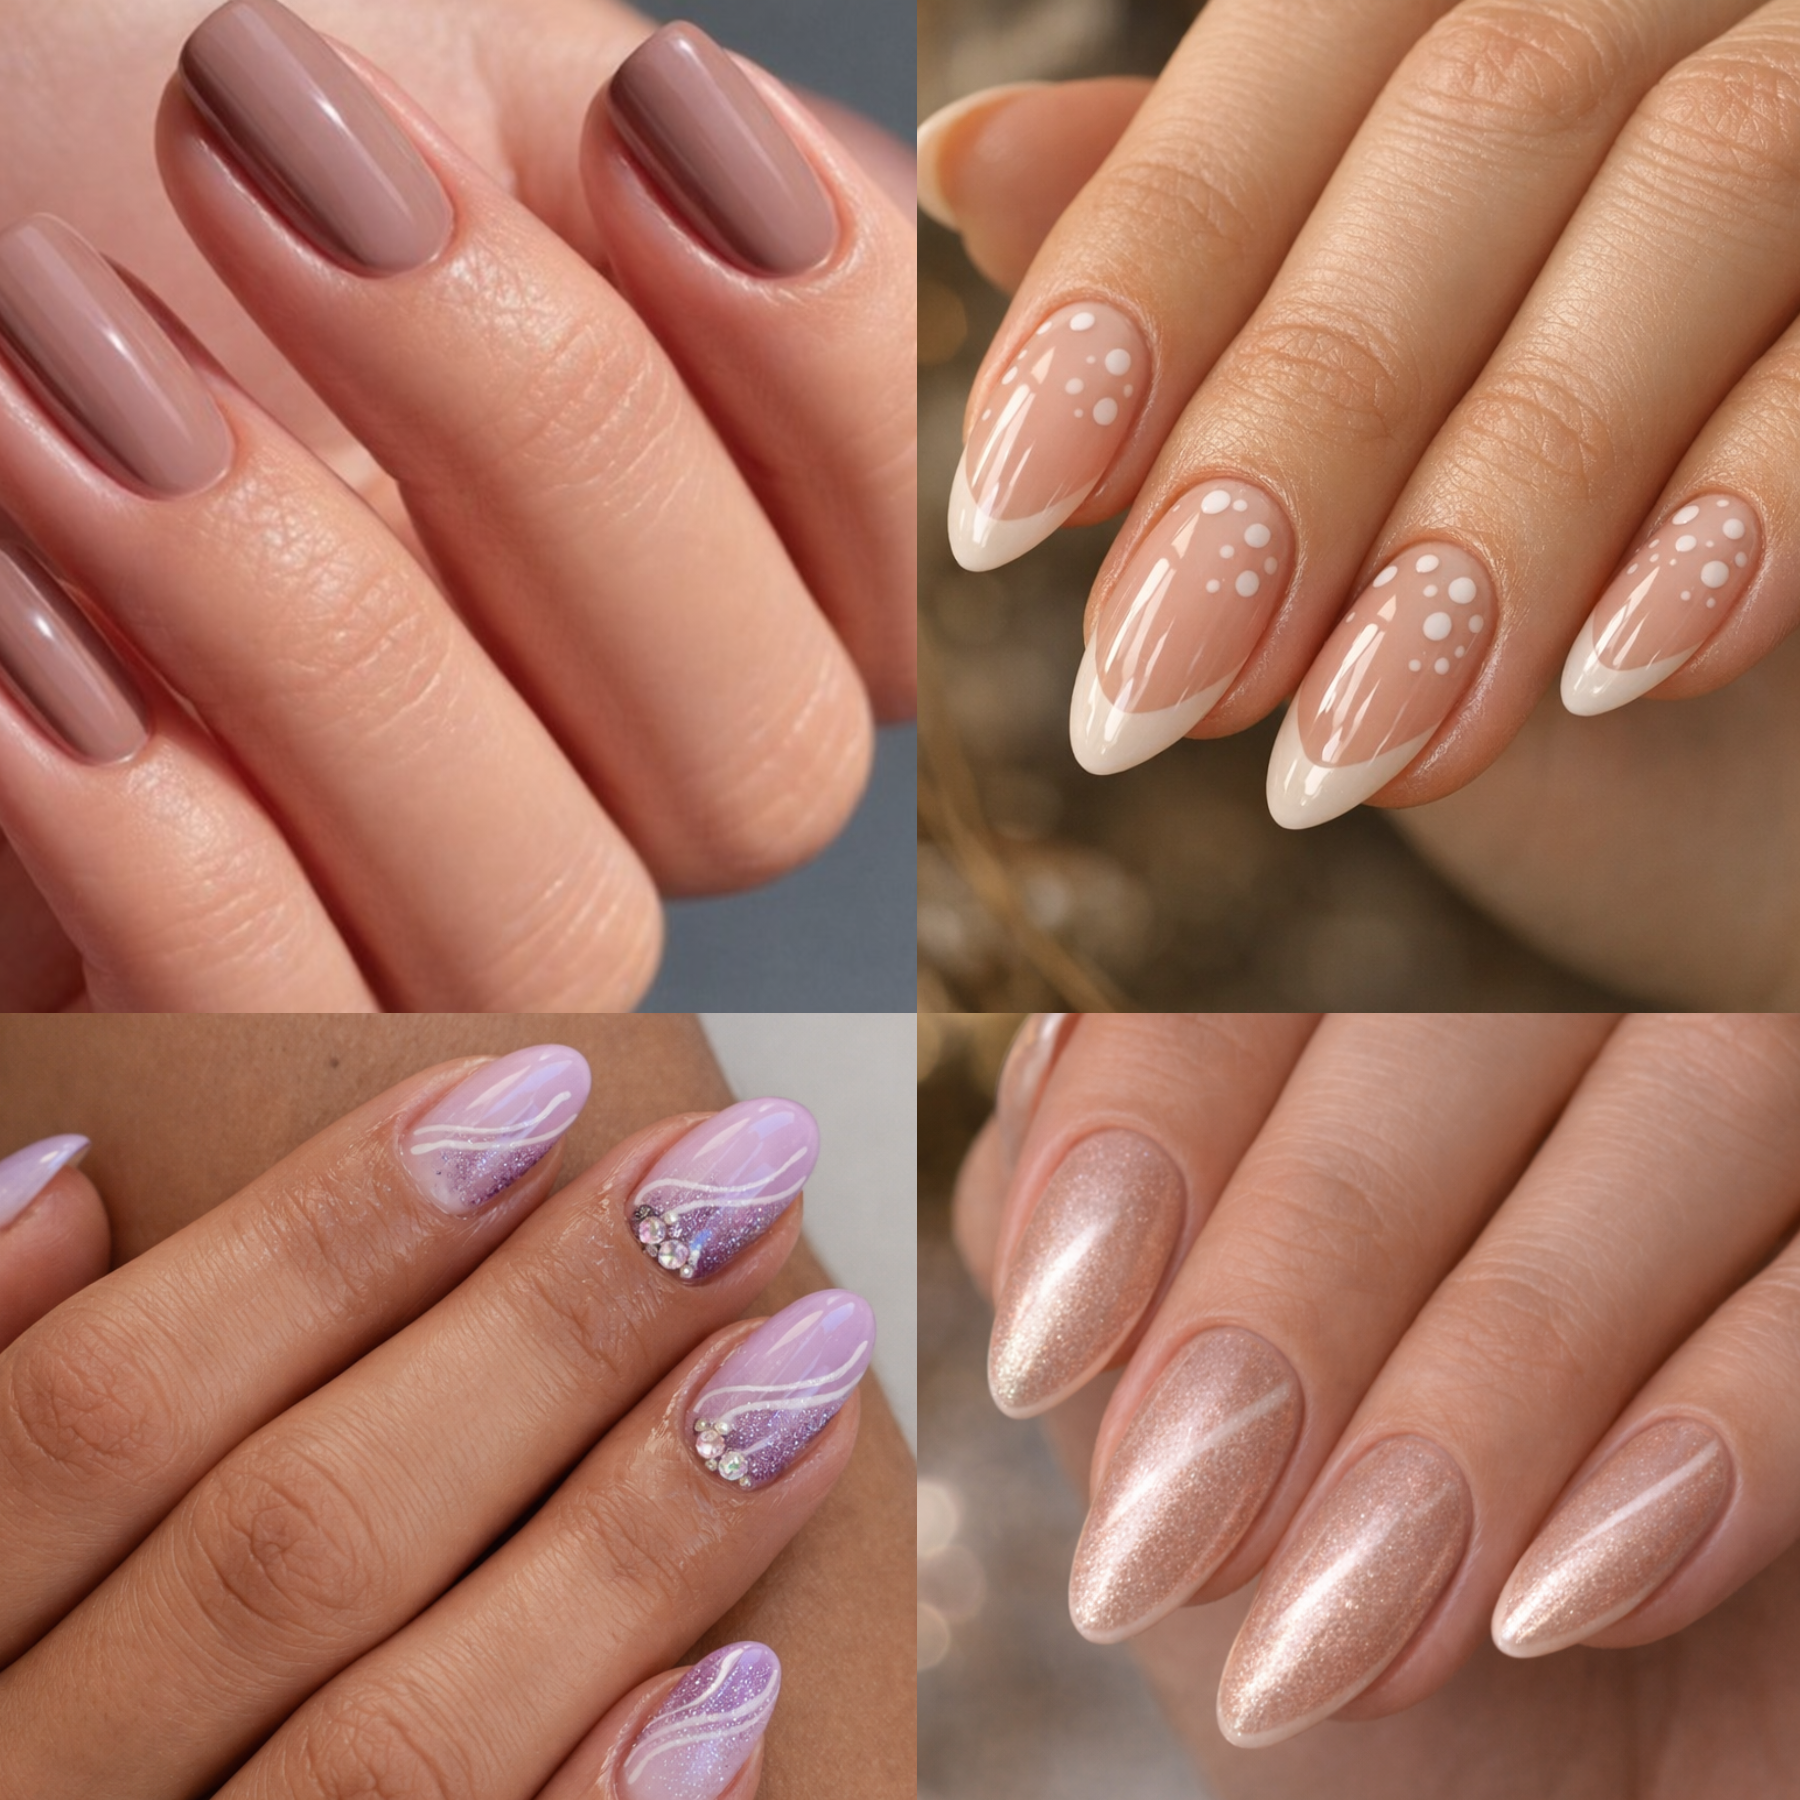
2025 Spring Season Top Nail Trends
Secrets Nail Technicians Won't Tell You About Winter Care
Nail Care: Do's & Don'ts
Finding The Best Nail Salon In San Jose And What Sets Them Apart

Unsure about tipping etiquette at nail salons in San Jose? Our guide breaks down the standard tipping practices, helping you show appreciation for your nail technician's services. Read on to find out the typical tip percentages and local insights for a stress-free salon experience.
2024 Top Summer Toe Nail Designs